Shipping is one of the most confusing parts of selling on eBay when you’re just starting out.
There are multiple options, different carriers, and settings that aren’t always obvious.
The good news is once you understand the basics, it becomes very simple and repeatable.
This guide will walk through exactly how to set up shipping on eBay as a beginner.
Step 1: Choose Your Shipping Type
When listing an item, eBay gives you a few main options:
- Calculated shipping
- Flat rate shipping
- Free shipping
Calculated shipping means eBay automatically charges the buyer based on their location.
Flat rate shipping means you set one price for everyone.
Free shipping means you include shipping in your item price.
What I Actually Do
When I started, I used calculated shipping, which is what I recommend for beginners.
Later, I experimented with free shipping because I thought it would bring in more buyers.
In my experience, it didn’t really increase sales — and it actually caused some problems.
Buyers would sometimes send low offers (like $10), and it felt like they didn’t realize that:
- I still pay for shipping
- I pay fees
- I need to make a profit
So I ended up switching everything back to calculated shipping so buyers can clearly see the shipping cost.
That’s just what worked for me — you can test both and see what you prefer.
Step 2: Enter the Package Weight
This is one of the most important parts.
eBay uses the weight of your package to calculate shipping.
If you don’t have a scale, I highly recommend getting one — or using a kitchen scale.
For me, this is a must.
I still weigh every item. I don’t guess.
Guessing leads to losses.
Step 3: Choose a Shipping Carrier
The most common options are:
- USPS
- UPS
For me, USPS is the easiest and most convenient because:
- I can schedule pickups
- pickups are free
- I don’t have to drop items off every day
You’ll often use:
- Ground Advantage (cheaper)
- Priority Mail (faster)
Step 4: Set Your Handling Time
Handling time is how quickly you ship the item after it sells.
Common options:
- 1 business day
- 2 business days
I recommend 2 business days for most people starting out.
This gives you enough time while still qualifying for Top Rated Seller status.
Important:
The package needs a carrier scan within those 2 business days.
Example:
- Sold Wednesday → ship by Friday
- Sold Friday → ship by Tuesday
(Weekends don’t count)
I usually ship same or next day just to stay safe.
Step 5: Set Shipping While Listing
One thing I personally do:
Right after I take photos, I:
- weigh the item
- enter shipping details immediately
- choose calculated shipping
- enter dimensions
You can do this directly in the eBay app while creating your draft.
This way everything is already done before the item even sells.
Then I store the item in my inventory system.
If you want to see how I organize everything:
Step 6: Print Your Shipping Label (Avoid Costly Mistakes)
Once your item sells:
- go to your Orders
- click “Get shipping label”
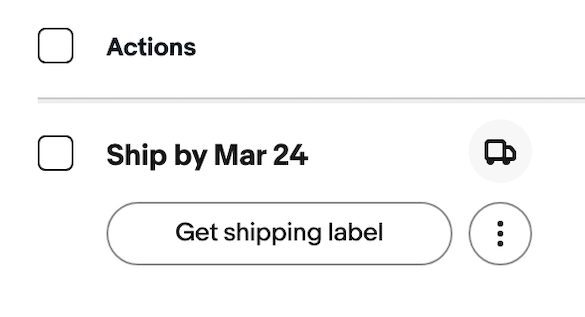
Before printing, I always take one extra step to avoid costly mistakes.
- pack the item fully
- put it on the scale one more time
- confirm the weight (and dimensions if needed)
This helps prevent underpaying for shipping — something that can quietly eat into your profits.
Common Beginner Mistakes
Some common issues early on:
- guessing weight
- underestimating shipping cost
- choosing the wrong service
- overcomplicating settings
Keep it simple.
Final Thoughts
Shipping might seem confusing at first, but it becomes routine very quickly.
The biggest advice I can give:
Don’t guess weight — use a scale.
Everything else you’ll learn as you go.
You will make a mistake or two, and that’s completely normal.
Just treat it as part of the learning process.
Related Posts
How to Start Selling on eBay With $100
How Much Money Can You Really Make Selling on eBay
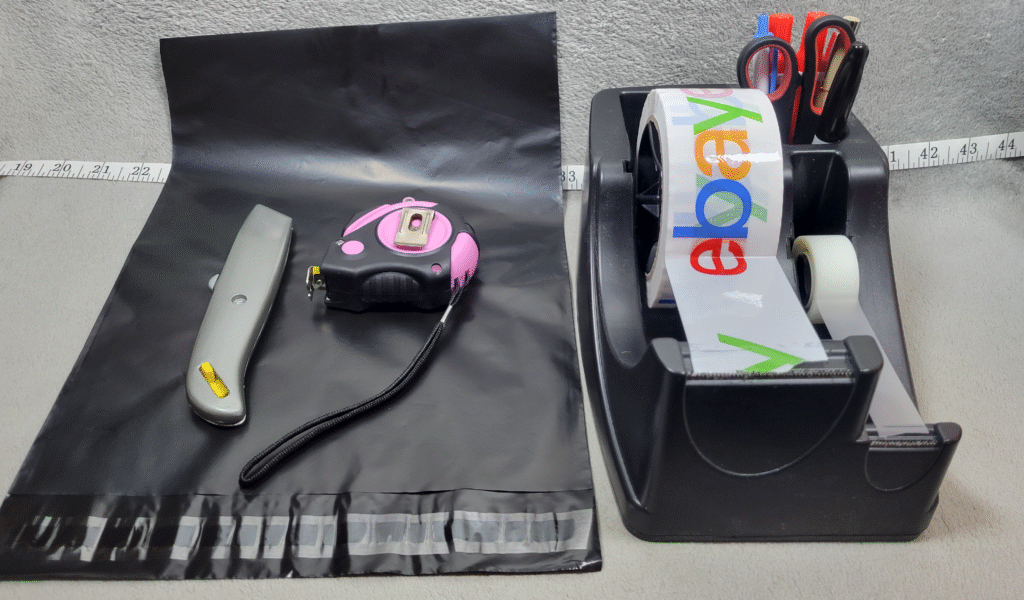
My Simple eBay Shipping Setup