Once an item sells on eBay, the work isn’t over — but it also shouldn’t be stressful or complicated.
This post walks through exactly what I do after a sale, from the moment I see the notification to the item being shipped and marked complete. There’s no automation, no warehouse, and no fancy systems — just a simple, repeatable process that keeps mistakes low and buyers happy.
This is written for beginners, but it’s the same workflow I still use today.
My Goal After a Sale
When something sells, I’m optimizing for three things:
- Ship quickly and correctly
- Avoid mistakes or mix-ups
- Set clear expectations so there are no surprises
Fast shipping matters — but accurate shipping matters more.
Step 1: I Start With My Orders (Not the Listing Details)
The first thing I do each morning is open My Orders on eBay.
I don’t start by deeply reviewing the sale details. Instead, I focus on how many orders I have and where each item is physically located.
Each of my listings has a SKU that corresponds to a specific tote. So I:
- Glance at the sold items
- Note which totes they’re in
- Pull all sold items at once
- Bring them to my packing / photo desk area
This keeps things fast and prevents bouncing back and forth between storage and the computer.
At this point, I open a separate browser tab for each order, so I can easily flip between them while packing and printing labels.
Step 2: I Prep Shipping Labels Before Packing
With each order open in its own tab, I review:
- The shipping method the buyer selected
- The weight and dimensions I previously entered
In most cases, I use USPS Ground Advantage — it’s usually the cheapest option and works well with USPS pickups.
Many of the items I sell contain lithium batteries, so before purchasing the label I:
- Click Edit on the shipping screen
- Select Non-hazardous materials → Used electronics with lithium battery inside
This adds the required Hazardous (H) marking to the label and ensures the package stays in ground transport. This step is important anytime you ship rechargeable electronics.
Once that’s confirmed, I leave the tab open and move on to packing.
Step 3: I Pack One Item at a Time (With More Protection Than Less)
I pack items one at a time, then immediately create and print the label for that specific item. This minimizes mix-ups.
My general rule is simple:
- Don’t be stingy with protection
- But don’t go overboard either
Bubble wrap is cheap in bulk, and it’s not the place to cut corners.
For example, when shipping something like a TV remote:
- I tear off about 3 feet of perforated bubble wrap
- Place the remote at one end
- Roll it tightly like a carpet
- Tape it so it doesn’t unravel
- Slide it into a poly mailer (I usually use 13×10″)
For fragile or glass items:
- Bubble wrap first
- Then place it in a sturdy box
- Fill all empty space with crumpled paper or magazines
- Make sure the item is not touching the edges of the box
Once packed, I always do a shake test. If I hear movement, I add more padding.
A package should also survive a waist-to-chest-height drop without damaging the item — that’s a realistic simulation of real-world handling.
I’ve shipped thousands of items this way and have yet to have one arrive damaged.
Step 4: I Weigh, Round Up, and Buy the Label
After packing, I weigh the package using a small scale.
I always round up to the next shipping tier:
- 3 oz → 4 oz
- 9 oz → 12 oz
- 1.2 lb → 2 lb
Rounding up avoids adjustments and surprises later.
Once confirmed, I:
- Click Get shipping label
- Double-check the service
- Purchase the label
I use a thermal printer with 4×6 labels (no ink required), but a regular paper printer works fine too.
When attaching the label:
- Place it on the flattest surface
- Make sure it’s smooth and fully scannable
To protect against moisture, I often place a strip of clear packing tape over the label, covering both the sender and recipient address. This helps if the package gets wet during transit.
Optional add-ons (rarely needed)
On the same screen where you review the carrier, weight, and dimensions, eBay also gives you a few optional extras — such as signature confirmation or additional insurance.
USPS automatically includes up to $100 of coverage on most shipments. If you’re shipping a higher-value item (for example, $200–$300+), you can add extra coverage if it gives you peace of mind.
Personally, I rarely use these options. I’ve shipped thousands of items without issues, but it’s good to know they’re available if you’re sending something especially valuable or fragile and want that extra reassurance.
Step 5: Daily USPS Pickup and Acceptance Scans
Once everything is packed and labeled, I place the packages by my door.
USPS picks up from me daily. I make sure:
- Each package is scanned upon acceptance
This is important because:
- It shows the buyer the item is officially in USPS possession
- It protects you if there are delivery delays later
If you don’t ship daily or this is a side hobby, dropping packages off at the post office works just fine — just try to ensure they’re scanned when accepted.
Step 6: I Don’t Babysit Orders — But I Do Spot-Check
After shipping, I don’t obsessively monitor tracking.
About once a week, I’ll do a quick scan to make sure nothing from the previous week or two is still stuck in transit. If something looks off, I’ll step in.
Otherwise, most orders complete quietly — and that’s exactly what you want.
Step 7: How I Handle Messages or Issues
Most buyers never message me at all.
When they do:
- I stay polite and professional
- I stick to facts
- I don’t argue
You can show empathy without giving up your backbone.
Clear photos, honest descriptions, and realistic expectations prevent most problems before they start.
Why This Simple Process Works
This workflow:
- Reduces mistakes
- Saves mental energy
- Scales without complexity
It’s boring on purpose — and that’s exactly why it works.
Final Thoughts
Selling on eBay doesn’t end when the item sells.
But it also doesn’t need to become complicated.
If you:
- Slow down just enough to verify
- Pack with care
- Ship consistently
- Communicate only when necessary
Most orders will take care of themselves.
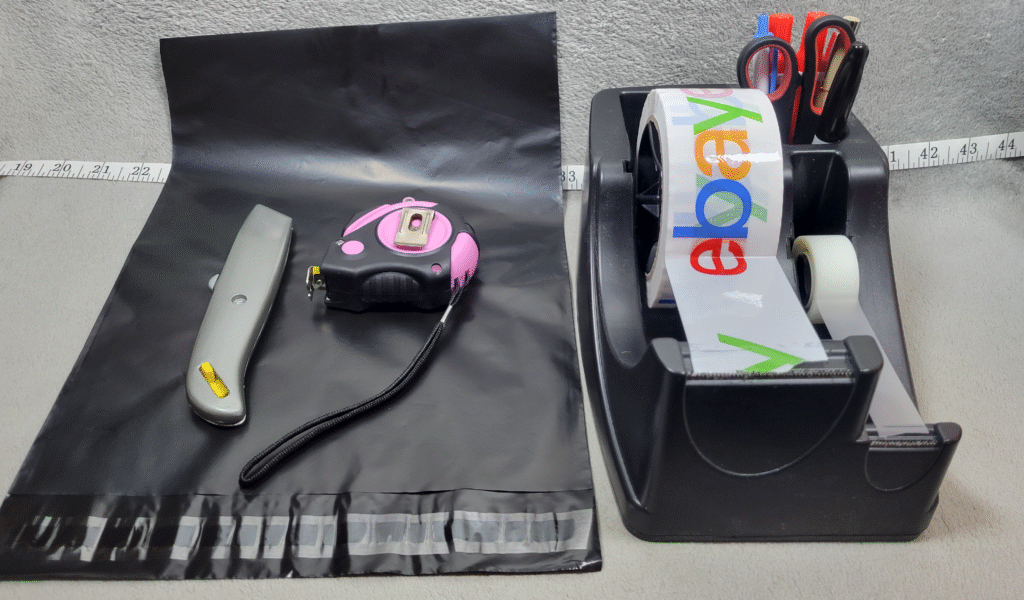
In the next post, I’ll break down my actual eBay setup — the tools, supplies, and layout I use to make all of this easy to repeat without thinking about it.
Thanks for reading — and if you’re building your store one sale at a time, you’re doing it right.
New to Reselling on eBay? Start Here
If you’re new to reselling, these posts will walk you through my exact system from start to finish: